Getting UV Curing Right in Textile Printing
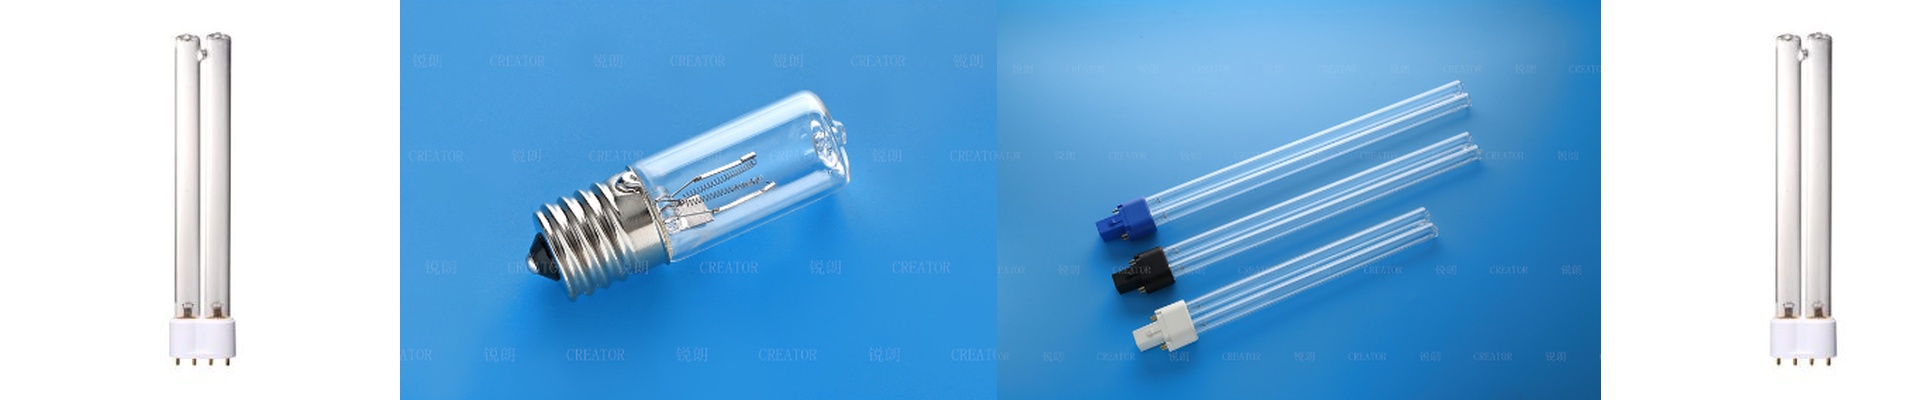
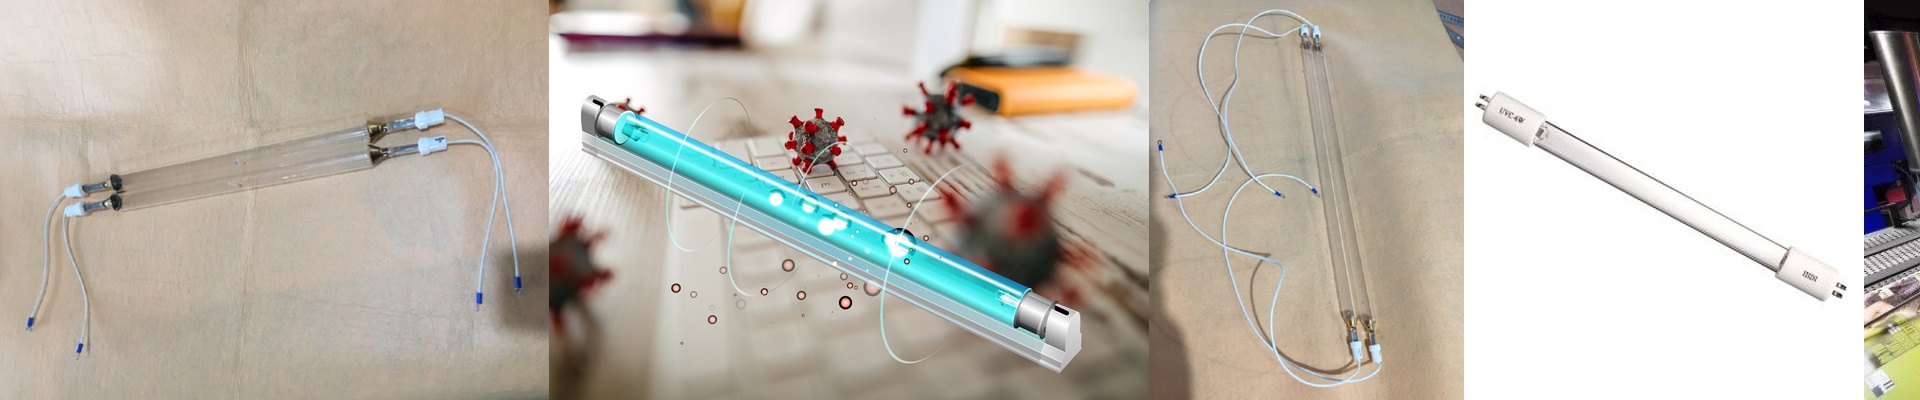
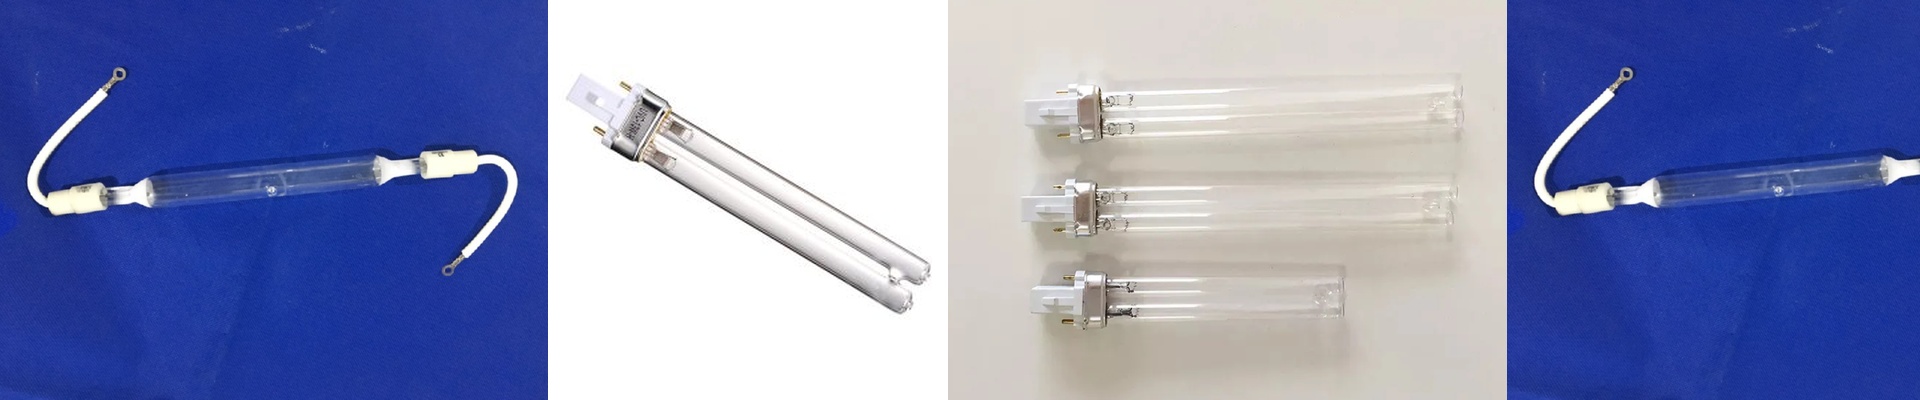
When people think about UV curing, they usually just think about the bulbs. But it’s actually a lot more nuanced than that. It’s really about managing the light—the photon flux—so your ink sticks to the fabric without burning a hole through the material. Basically, we’re using these systems to snap liquid ink into a solid film in a fraction of a second.
The Nitty-Gritty of UV Output
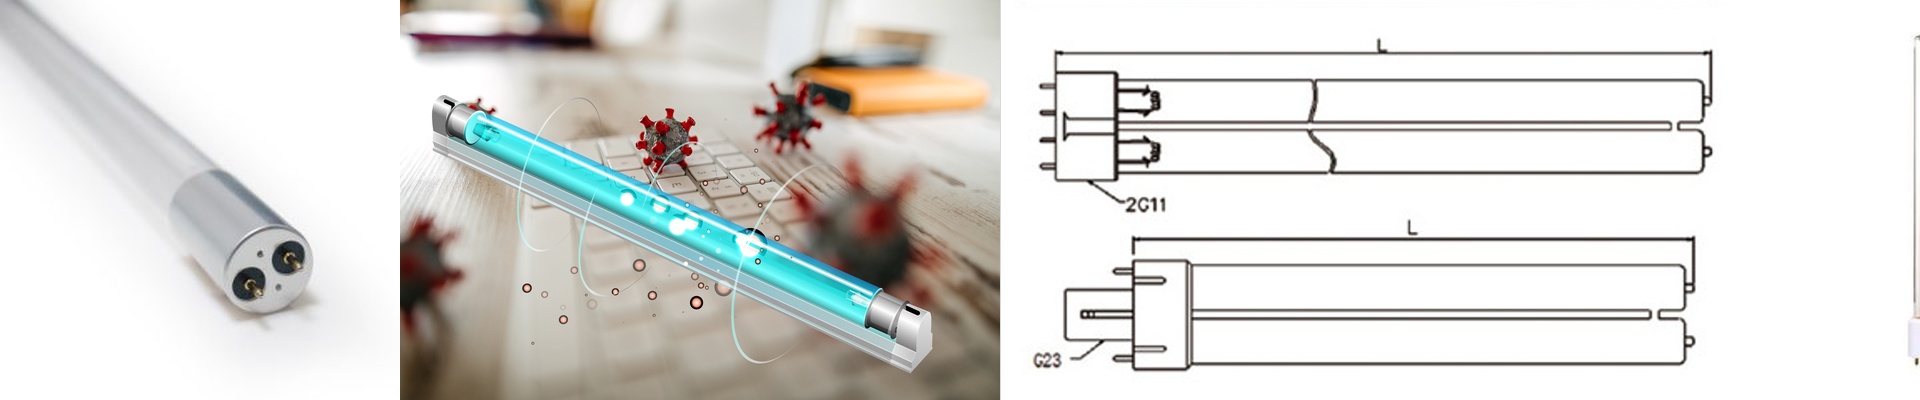
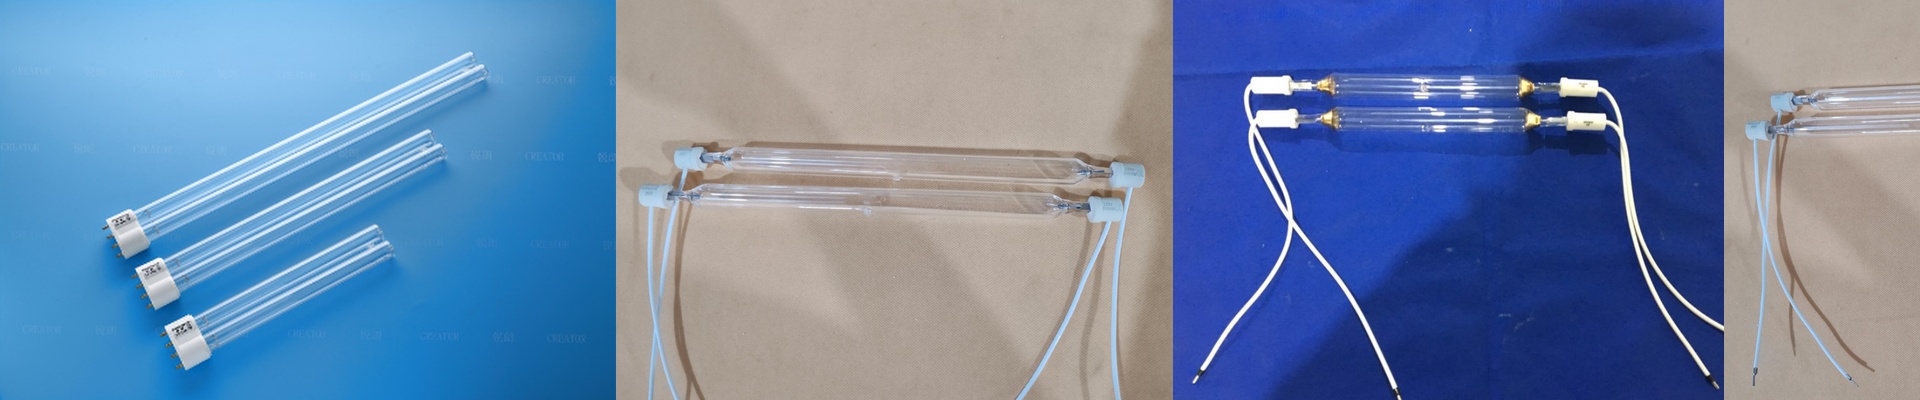
When we’re setting these things up, we look at the irradiance—how much power is actually hitting the fabric. If you’re running a high-speed line, you need a serious amount of wattage per inch. Why? Because if the intensity is too low, you run into “blocking.” That’s the nightmare scenario where the ink hasn’t set yet, and it just smears everywhere as the fabric moves. We also have to pick the right wavelengths to trigger the photo-initiators in the ink. Most shops use mercury-vapor or LED arrays. I usually lean toward LEDs. They have a tighter spectrum, which means you aren’t accidentally cooking your fabric.
Dealing with the Heat
You can’t just plug in a UV lamp and call it a day. High-output lamps throw off a ton of infrared heat along with the UV light. If your cooling fans or water-jackets aren’t up to the task, your fabric will warp or the ink will start bubbling. It’s a mess. The best way to handle this is to get a solid exhaust system in place to pull that heat away from the web immediately.
Don’t Guess Your Maintenance
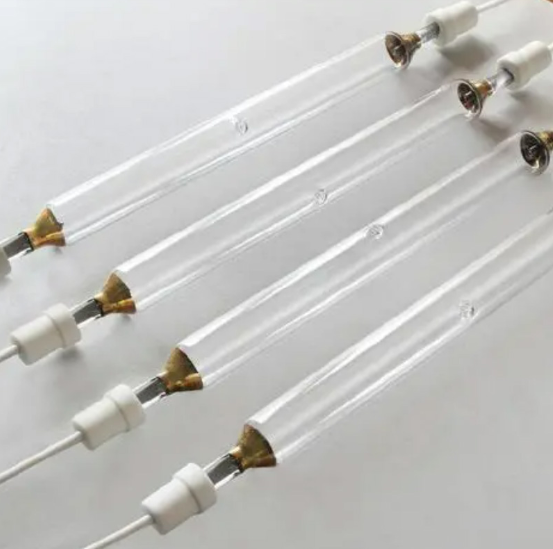
Here’s the thing about UV lamps: they fade. Even if the lamp looks bright and seems to be working, the actual output drops over time. We track “burn hours” to know when to swap them out. Waiting until the print looks bad is a huge mistake. By the time you notice the cure rate has dipped, you’ve probably already scrapped hundreds of meters of fabric. My advice? Grab a radiometer and check your actual output every single week. It takes a minute, but it saves you from guessing—and from wasting a ton of money on ruined materials.